Contextual provides a platform for creating enterprise-grade AI agents, grounded in your documents and data. See a demo of our agents here.
Our APIs provide powerful—yet simple—interfaces for ingesting data, creating agents, and interacting with our state-of-the-art Contextual RAG 2.0 system.
Follow this guide to create your first agent! See https://github.com/ContextualAI/examples for easy-to-follow Jupyter notebooks for using our APIs.
Get your API Key
Note: If you do not have access to the platform, you can create a workspace via the Start Free button in the upper right of the page. New workspaces are given a 30-day free trial of an agent and datastore.
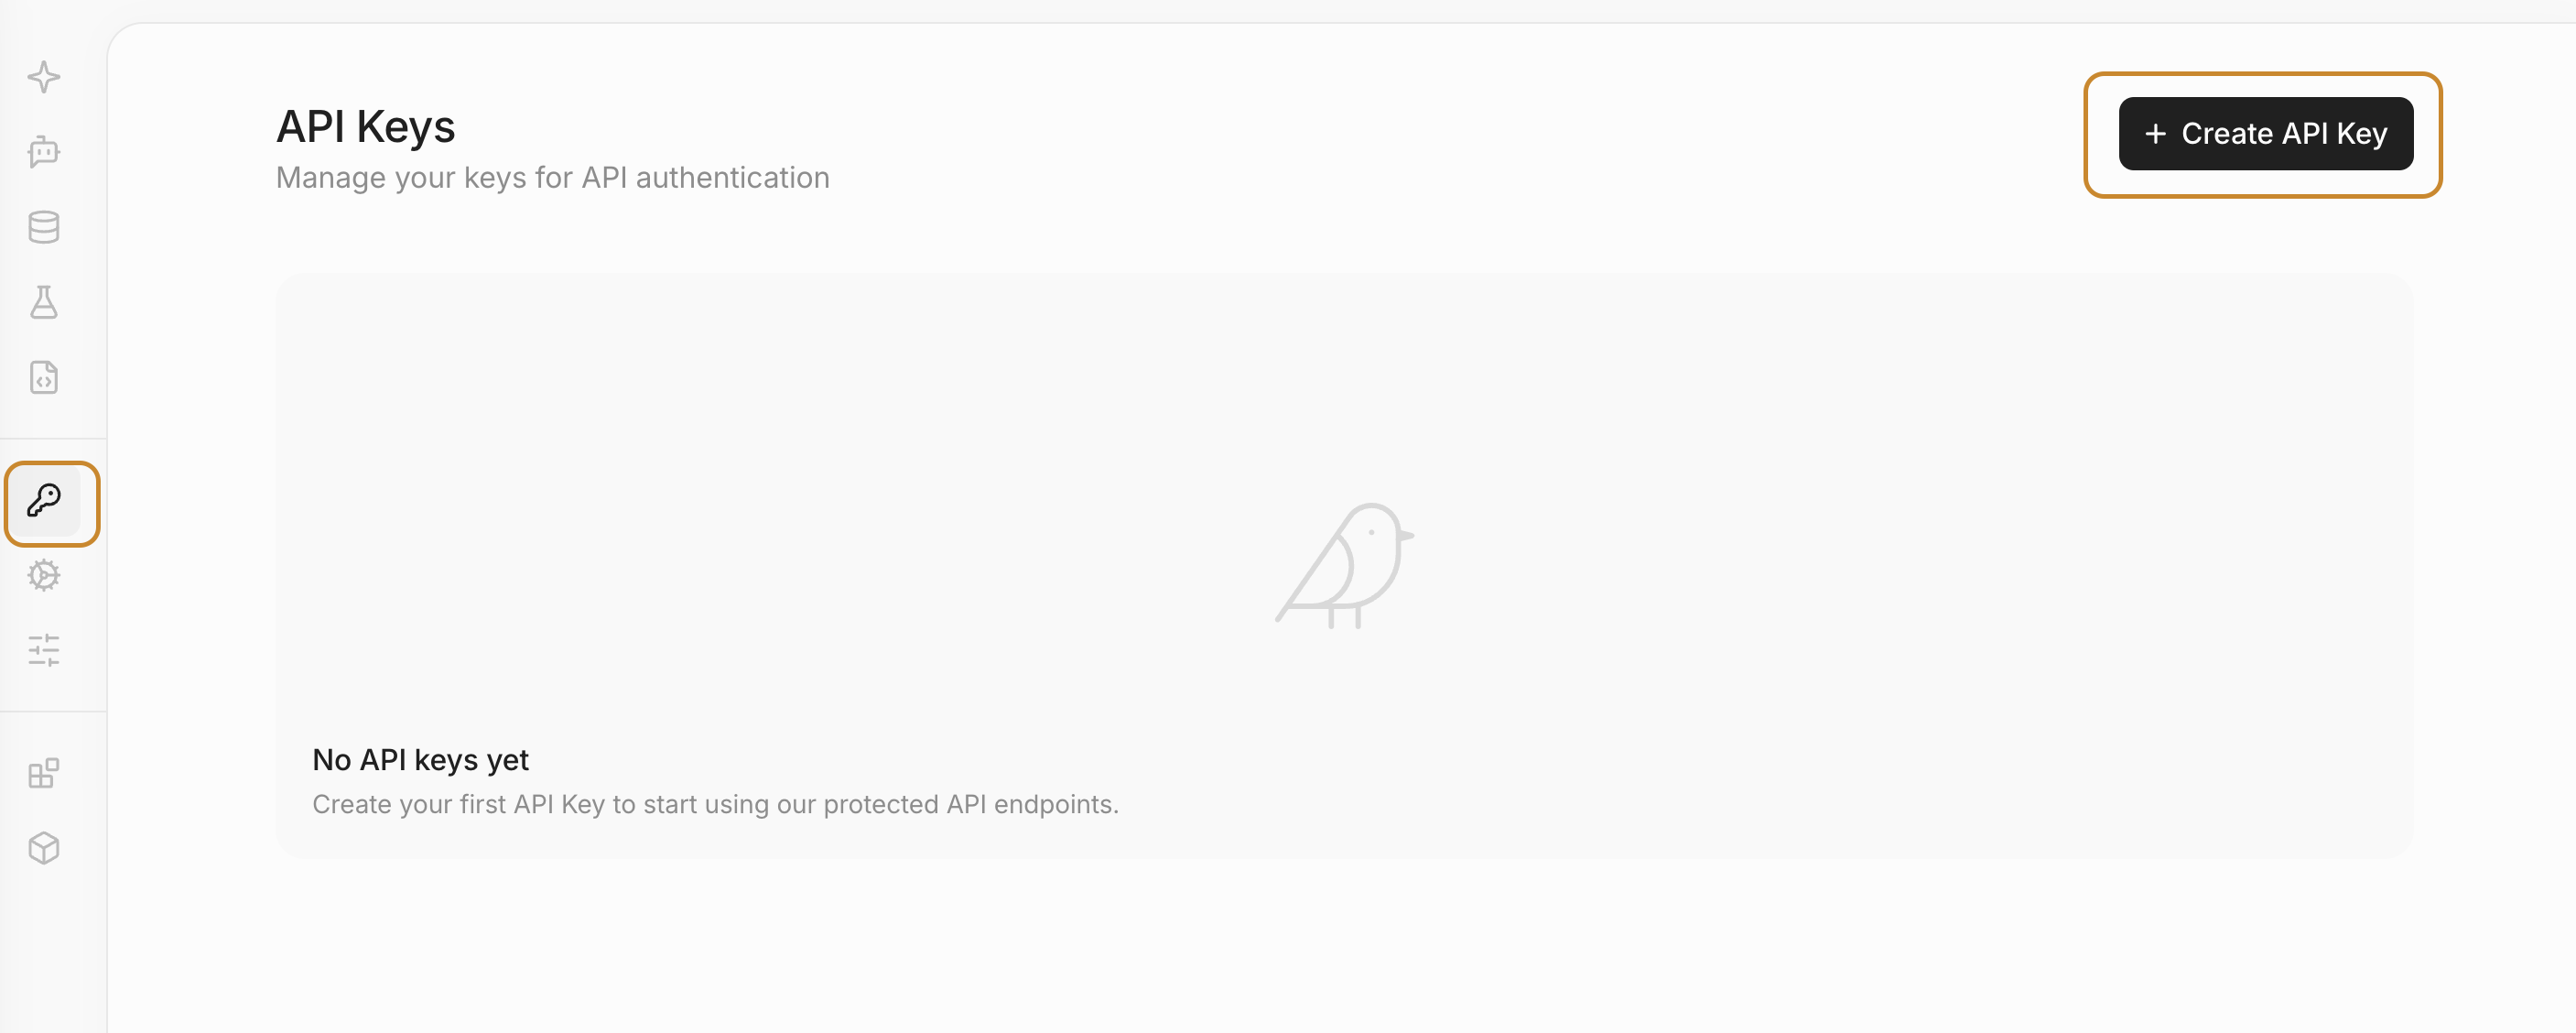
Contextual uses API keys to authenticate requests. Only admins within a tenant can create API keys. To create a key:
- Log into your tenant at app.contextual.ai
- Click on API Keys in the sidebar
- Click the Create API Key button in the upper right and follow the instructions
- Save the generated key in a secure location
Create and Query Your First Agent
Note that self-serve users are currently required to create agents and datastores through our UI. Otherwise, they will receive the following message: "This endpoint is disabled as you need to go through checkout. Please use the UI to make this request."
Step 1: Create a datastore
A datastore contains all of the files that your agent(s) will be able to access. Each agent must be associated with at least one datastore. You can create a datastore using the /datastores endpoint with the following command:
from contextual import Contextual

# Initialize the client with your API key
contextual = Contextual(api_key="API_KEY")

# Create a datastore
datastore = contextual.datastores.create(name="Test Datastore")
curl --request POST \
--url https://api.contextual.ai/v1/datastores \
--header 'accept: application/json' \
--header 'authorization: Bearer $API_KEY' \
--header 'content-type: application/json' \
--data '{"name":"Test Datastore"}'Note: Remember to replace $API_KEY with your key. You can rename the datastore if you want.
If the request is successful, the id of the newly created datastore will be returned to you. Be sure to save this id as you will need it in subsequent steps!
Step 2: Add documents into your datastore
Now that you've created a datastore, you can add documents to it. All documents are stored securely in the Contextual platform, and are processed in ways that we have optimized for RAG agents.
- If you don't have your own documents handy, feel free to use our Beginner's Guide test documents, found here
- For the best results, use renderable PDFs, i.e., documents that have text that can be copied and pasted.
You can upload a single document using the following command:
from contextual import Contextual

# Initialize the client with your API key
contextual = Contextual(api_key="API_KEY")

# Upload a document
with open('file.pdf', 'rb') as f:
    ingestion_result = contextual.datastores.documents.ingest(datastore_id, file=f)
    document_id = ingestion_result.id
    print(f"Successfully uploaded document_id: {document_id} to datastore_id: {datastore_id}")
curl --request POST \
--url https://api.contextual.ai/v1/datastores/{datastore_id}/documents \
--header 'accept: application/json' \
--header 'authorization: Bearer $API_KEY' \
--header 'content-type: multipart/form-data' \
--form file=@'${file_path}'Note: Remember to:
- Replace
{datastore_id}in the url path with the datastore id from the previous step - Replace
$API_KEYwith your API key - Replace
{file_path}with the path to the document on your machine
If the request is successful, the id of the uploaded document will be returned to you. The time required to upload documents depends partly on their length and features. Some documents may require a few minutes to fully process after upload.
To check the status of documents uploaded into the datastore, use this command:
from contextual import Contextual

# Initialize the client with your API key
contextual = Contextual(api_key="API_KEY")

# Get the status of documents in the datastore
metadata = contextual.datastores.documents.metadata(datastore_id=datastore_id, document_id=document_id)
print("Document metadata:", metadata)
curl --request GET \
--url https://api.contextual.ai/v1/datastores/{datastore_id}/documents \
--header 'accept: application/json' \
--header 'authorization: Bearer $API_KEY'Note: Remember to:
- Replace
{datastore_id}in the url path with theidfrom the previous step - Replace
$API_KEYwith your API key
You should see the document you uploaded in the list, along with its ingestion_job_status.
Step 3: Create an agent
Now that you have a datastore with some files, you can use the /agents endpoint to create your first agent.
from contextual import Contextual

# Initialize the client with your API key
contextual = Contextual(api_key="API_KEY")

# Create an agent
agent = contextual.agents.create(name="Test Agent", description="Test Agent", datastore_ids=[datastore_id])
curl --request POST \
--url https://api.contextual.ai/v1/agents \
--header 'accept: application/json' \
--header 'authorization: Bearer $API_KEY' \
--header 'content-type: application/json' \
--data '
{
"name": "Test",
"description": "Test Agent",
"datastore_ids": []
}
'Note: Remember to:
- Replace
$API_KEYwith your API key - Populate the
datastore_idslist field with the datastoreidfrom above
If the request is successful, the agent_id of the newly created agent will be returned to you. You'll need this to query your agent in the next step.
Step 4: Query your agent
Now that you've set up an agent and uploaded documents for use with it to use, you can use the /query endpoint to send messages:
from contextual import Contextual

# Initialize the client with your API key
contextual = Contextual(api_key="API_KEY")

# Query the agent
response = contextual.agents.query.create(
  agent_id=agent_id,
  messages=[
    {
      "role": "user",
      "content": "What is the revenue of Apple?"
    }]
)
curl --request POST \
--url https://api.contextual.ai/v1/agents/{agent_id}/query \
--header 'accept: application/json' \
--header 'authorization: Bearer $API_KEY' \
--header 'content-type: application/json' \
--data '
{
"stream": false,
"messages": [
{
"role": "user",
"content": "What is the revenue of Apple?"
}
]
}
'Note: Remember to:
- Replace
{agent_id}in the url path with the agent_id from the previous step - Replace
$API_KEYwith your API key - Replace the
contentfield with a question that is relevant to the document(s) you uploaded
If the request is successful, you'll receive a response back that will contain:
- The body of the response
- The sources retrieved from the datastore that are relevant to the response
- Attributions/citations of sources to specific text spans in the response
Note: You can only query your agent once at least one document in the datastore has been processed. You can check the status of uploaded documents by following the instructions in the previous step.
🙌 Congratulations! You've now created a basic agent in the Contextual platform.
Try out Additional Functionality
Multi-turn conversations
Based on your use case, you may want to leverage our multi-turn capabilities. With multi-turn, agents can use prior conversation history when responding to new queries. This means agents will automatically use information in prior turns to resolve ambiguities in the query, fetch the appropriate retrievals, and generate the final answer.
Example:
w/ Multi-turn | w/o Multi-turn | |
|---|---|---|
Turn 1 | Query: What is the merger price | Query: What is the merger price |
Response: Direct Answer: The merger price is $11.50 per share in cash. Rationale: This is explicitly stated in Section 2.1(a) of the contract, which defines the "Per Share Merger Consideration" as $11.50 per share in cash, without interest Caveats: This price applies to all shares except for: (1) shares owned by Parent, Merger Sub, or their wholly owned subsidiaries (referred to as "Cancelled Shares"), (2) shares held in treasury by the Company, and (3) shares held by dissenting shareholders (referred to as "Dissenting Shares") | Response: Rationale: This is explicitly stated in Section 2.1(a) of the contract, which defines the "Per Share Merger Consideration" as $11.50 per share in cash, without interest Caveats: This price applies to all shares except for: (1) shares owned by Parent, Merger Sub, or their wholly owned subsidiaries (referred to as "Cancelled Shares"), (2) shares held in treasury by the Company, and (3) shares held by dissenting shareholders (referred to as "Dissenting Shares") | |
Turn 2 | Query: | Query: |
Response Rationale: This is specified in Section 2.5 of the contract, which states that if the number of Shares or securities convertible into Shares changes due to certain corporate actions, "the Per Share Merger Consideration shall be equitably adjusted to provide to Parent and the holders of Shares the same economic effect as contemplated by this Agreement prior to such event. Caveats: The adjustment is specifically limited to maintaining the same economic effect as originally contemplated, and the contract does not provide for adjustments due to other factors such as market conditions or changes in the company's financial performance. | Response Rationale: This is based on Section 6.1(e) which outlines the specific conditions under which a Change of Recommendation can occur. It requires a 4-day notice period (the "Notice Period") and must be in response to either an Intervening Event or a Superior Proposal. The Board must also determine that failing to make the change would be inconsistent with their fiduciary duties. Caveats: The change must follow specific procedural requirements including delivery of a written notice (Company Notice) with material details, and the Board must consult with financial advisors and outside legal counsel. |
Enabling multi-turn behavior
Enabling multi-turn is an agent-level setting. If multi-turn is enabled, at query-time you can pass a conversation_id, which will:
- Append the new query to the given conversation
- Generate the response in a conversation-aware manner
If you do not pass a conversation_id, Contextual will assume you are beginning a new conversation with the query in the request as the initial message.
If multi-turn is disabled at the agent-level, passing the conversation_id will only append the query to the given conversation's history; the response will not be generated in a conversation-aware manner.
Code Snippets
To enable or disable multi-turn for a given agent:
curl 'https://api.app.contextual.ai/v1/agents/{agent_id} \
  --request PUT \
  --header 'Content-Type: application/json' \
  --header 'Authorization: Bearer $API_KEY' \
  --data '{
  "agent_configs": {
    "global_config": {
      "enable_multi_turn": true
    }
  }
}'
To pass the conversation_id when querying:
from contextual import Contextual

client = ContextualAI(
    api_key=os.environ.get("CONTEXTUAL_API_KEY"),
)

response = client.agents.query.create(
  # replace with your agent's id
  agent_id=agent_id,
  # replace with your query
  messages=[{"content": "", "role": "user"}],
  # replace with a valid conversation_id
  conversation_id=conversation_id)
curl 'https://api.app.contextual.ai/v1/agents/{agent_id}/query' \
--request POST \
--header 'Content-Type: application/json' \
--header 'Authorization: Bearer $API_KEY' \
--data '{
"messages": [
{
"content": "",
"role": "user"
}
],
"conversation_id": ""
}'Next Steps
Now that you have a basic working agent, you can explore our advanced features, including evaluation and tuning options.